Ice Bucket Mount: Beginner’s Guide (2026)
An ice bucket mount in a vehicle sounds like a luxury feature?until you?ve tried to keep drinks cold on a long road trip, a tailgate, a beach day, or a weekend overlanding run. Loose coolers tip over, meltwater sloshes into carpet, and glass bottles rolling under seats are a safety hazard. A proper ice bucket mount solves those problems by keeping your chilled container stable, contained, and easy to reach.
This guide is built for beginners who want a clean, secure setup without turning their interior into a DIY science experiment. You?ll learn what an ?ice bucket mount? means in the car-interior context, where it can go, what hardware matters, and how to install it safely?without blocking airbags, ruining trim, or creating a projectile in a sudden stop.
Whether you drive a sedan, SUV, truck, or van, the goal is the same: a secure, removable, easy-to-clean cold-drink station that respects your cabin space and your vehicle?s safety systems.
What Is an Ice Bucket Mount (and Why It?s Different from a Cooler)
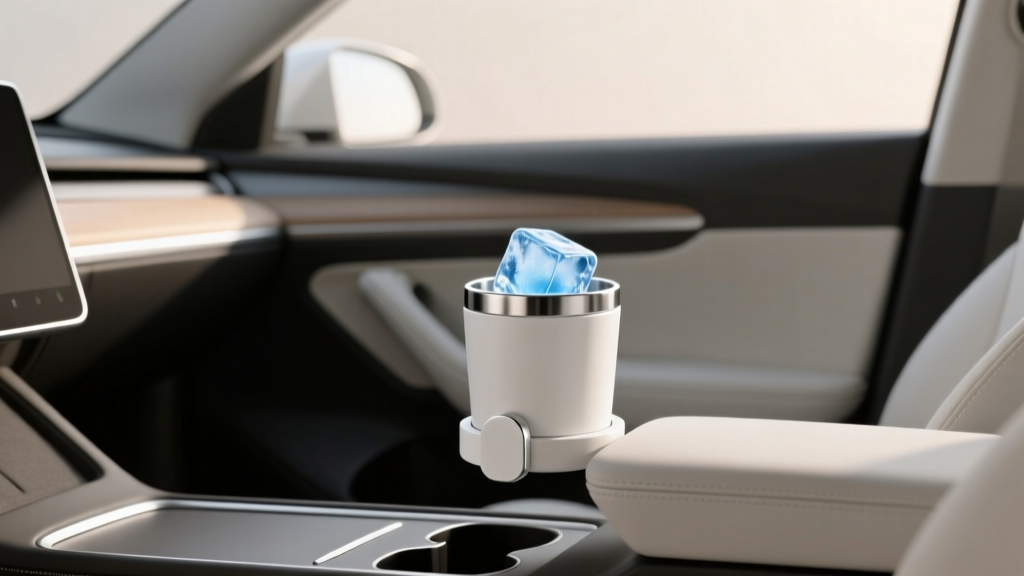
In automotive terms, an ice bucket mount is a bracket, base, or restraint system designed to hold a small ice bucket or insulated container in a fixed position inside the vehicle. It differs from a traditional cooler in a few key ways:
- Smaller footprint: Typically 2?8 liters, meant for quick access rather than bulk storage.
- Cabin-friendly: Designed to fit behind a seat, on a cargo rail, or on a flat load floor without sliding.
- Mount-first approach: The restraint system (mount) is the primary feature; the bucket is secondary and often removable.
- Cleaner integration: Helps prevent condensation and meltwater from soaking fabric and carpet.
Real-world example: A 3-liter double-wall bucket mounted behind the center console in a large SUV can hold a few canned drinks for passengers, while staying stable when you take an on-ramp at speed.
Planning Your Setup: Choosing the Right Location
Before buying parts or drilling anything, decide where the mount will live. The best location is stable, reachable, and safe.
Common Mounting Locations
- Cargo area (SUV/hatchback): Best for larger buckets; easiest to keep spills away from upholstery.
- Behind the front seats: Great for rear passenger access; works well with seat-rail or strap-based mounting.
- Between captain?s chairs (vans/SUVs): Popular for family road trips; keep aisle clearance in mind.
- Truck rear floor (crew cab): Stable area; easy to secure to under-seat anchor points.
- Center console area: Only for compact containers and only if it doesn?t interfere with shifting, parking brake, or controls.
Safety Checks Before You Commit
- Airbags: Avoid placing anything near side-curtain airbag deployment zones (A/B/C pillars, headliner edges).
- Seat tracks: Don?t obstruct seat movement or pinch wiring under seats.
- Emergency egress: Keep door paths and access to seatbelt buckles clear.
- Projectile risk: If it can move, it can fly. Mount strength matters more than aesthetics.
Types of Ice Bucket Mounts (Pros, Cons, Best Use)
There are a few proven ways to secure an ice bucket inside a vehicle. Choose based on your vehicle interior, how often you?ll remove it, and how ?factory? you want it to look.
1) Strap-and-Anchor Mounts
What it is: A bucket sits in a base or cradle and is held with straps tied to cargo hooks, child-seat anchors, or seat frame points.
- Pros: No drilling, flexible placement, easy to remove.
- Cons: Can look less integrated; straps can loosen if not tensioned correctly.
- Best for: Renters, leased vehicles, and first-time setups.
2) Cargo Rail / L-Track / T-Slot Systems
What it is: A mount that attaches to existing cargo rails or an added L-track system with adjustable rings and brackets.
- Pros: Very secure, modular, adjustable.
- Cons: Requires compatible rails or installation of track; cost can be higher.
- Best for: SUVs, overland builds, and drivers who carry different gear.
3) Hard-Mounted Brackets (Bolt-Down)
What it is: A metal or composite bracket that bolts through a load floor or into reinforced points, often paired with a quick-release strap.
- Pros: Maximum stability; clean look if done neatly.
- Cons: Permanent holes; must avoid wiring, fuel lines, and underfloor components.
- Best for: Dedicated builds and frequent use.
4) Seat-Rail Mounted Accessories
What it is: A clamp or bracket that attaches to seat rails (or seat bolts) to support a small platform or restraint.
- Pros: Strong mounting point; doesn?t require drilling the floor in many cases.
- Cons: Fitment-specific; risk of interfering with seat movement if poorly placed.
- Best for: Compact buckets for rear passenger access.
Recommended Ice Bucket Styles for Vehicles
The bucket itself matters as much as the mount. Vehicle interiors are harsh environments: temperature swings, vibration, and constant movement.
Top Bucket Features to Look For
- Double-wall insulation: Keeps ice longer and reduces exterior condensation.
- Leak-resistant lid: Helps prevent meltwater spills on turns and braking.
- Wide, stable base: Easier to strap down than tall, narrow buckets.
- Removable inner liner: Makes cleaning faster after sticky drinks.
- Non-marring exterior: Prevents scuffs on trim panels.
Quick Comparison: Common Container Options
- Stainless steel ice bucket: Looks premium, easy to clean, often heavier (good for stability). Watch condensation if not insulated.
- Insulated hard container (mini cooler-style): Best performance and usually includes a seal; may be bulkier.
- Soft-sided insulated bucket: Light and packable; can slump without a rigid cradle.
Step-by-Step: Installing a Strap-Based Ice Bucket Mount (Beginner Friendly)
This is the safest starting point for most car owners because it avoids permanent changes and can be tuned over time.
What You?ll Need
- Ice bucket or insulated container (2?8L recommended)
- Non-slip mat (rubberized liner or tool drawer mat)
- Two ratchet straps or cam buckle straps (avoid flimsy elastic bungees)
- Anchor points: cargo hooks, D-rings, or a cargo rail kit
- Optional: a shallow tray or boot mat to catch condensation
Installation Steps
- Clean the area: Vacuum and wipe down the mounting surface so the non-slip mat grips properly.
- Place a spill barrier: If mounting in the cabin, lay down a rubber mat or tray under the bucket to protect carpet.
- Set the non-slip mat: Cut it to size and place it under where the bucket will sit.
- Position the bucket: Put it where it won?t block seat travel, HVAC vents, or access to seatbelt buckles.
- Route straps low and tight: Wrap straps around the bucket?s lower third (not just the top) to prevent tipping.
- Attach to solid anchor points: Use cargo hooks or D-rings designed for load restraint. Avoid fragile trim loops.
- Tension evenly: Tighten each side a bit at a time so the bucket stays centered.
- Test for movement: Push the bucket forward/back and side-to-side. You want minimal shift.
- Do a ?brake test? simulation: With the vehicle parked, pull sharply on the bucket. If it slides, re-route straps or add a base.
Practical Tip: Control Meltwater
Even insulated buckets can sweat in humid weather. Add a microfiber towel or an absorbent pad under the bucket, then check it at fuel stops. If you?re carrying ice frequently, a shallow rubber tray is one of the best low-cost upgrades you can make.
Step-by-Step: Installing a Hard-Mounted Bracket (For Permanent Setups)
If you want a ?set it and forget it? installation, a bolt-down bracket is the most stable option?when done correctly.
Tools and Materials
- Mounting bracket or base plate sized for your bucket
- Stainless hardware (bolts, washers, nyloc nuts)
- Backing plate (spreads load under the floor panel)
- Drill and bits (only if safe and planned)
- Rust inhibitor/paint for drilled metal surfaces (if applicable)
- Trim tools for lifting panels to inspect under-floor space
Installation Steps (High-Level)
- Inspect underneath first: Lift the cargo floor panel and check for wiring looms, amplifier modules, battery packs (common in hybrids), and fuel/EV components. If you can?t verify clearance, don?t drill.
- Mark the bracket position: Ensure the bucket can be removed and that the lid opens fully.
- Use a backing plate: This prevents bolts from pulling through thin sheet metal or composite flooring.
- Drill carefully: Start with a pilot hole and work up to size. Vacuum debris immediately.
- Seal and protect: Treat any exposed metal and use appropriate sealant to reduce moisture ingress.
- Torque hardware properly: Tight is good; over-tight can crack plastics and deform thin panels.
- Add a quick-release strap: Even with a base, a strap or clamp keeps the bucket secure during impact-level forces.
If your vehicle is newer or electrified (hybrid/EV), consider professional installation. Underfloor battery lines and modules are not the place for guesswork.
Product Recommendations: What to Look For (Without Brand Hype)
Because vehicle interiors and budgets vary, the smartest ?recommendation? is choosing the right category and build quality. Here?s what consistently works well for car owners:
Best Beginner Setup (Budget-Friendly)
- Cam buckle straps (1" wide) + non-slip mat + rubber tray
- Why it works: Low cost, no drilling, easy to adjust after a week of real use.
Best Modular Setup (Enthusiast/Overland)
- L-track (logistics track) with movable rings + a rigid crate-style base
- Why it works: Reposition the mount for different trips; secure attachment points that don?t rely on trim plastics.
Best Premium Setup (Clean and Secure)
- Hard base plate + quick-release strap clamp + insulated, lidded container
- Why it works: Very stable, tidy look, fast removal for cleaning.
Common Mistakes to Avoid
- Using bungee cords as primary restraint: Elastic stretches and can let the bucket tip or bounce.
- Mounting too high: A tall setup raises the center of gravity and increases tipping risk.
- Ignoring airbag zones: Side-curtain airbags need clear space to deploy.
- Blocking seat rails or wiring: Pinched harnesses can trigger warning lights or cause failures.
- No spill management: Meltwater ruins carpet padding fast and can create mildew smells.
- Mounting to weak trim points: If the anchor flexes by hand, it won?t hold in a panic stop.
- Choosing the wrong container shape: Narrow buckets tip more; choose wider bases when possible.
Real-World Use Cases (How People Actually Use These)
- Family road trip: A lidded, insulated container mounted between second-row seats keeps drinks cold without constant cooler stops.
- Weekend tailgate: A cargo-area mount keeps the bucket from sliding around while you drive to the event, then lifts out for use at the lot.
- Camping/overlanding: A rail-mounted bucket can move from the cabin to the tailgate area, paired with a mat for quick cleanup.
- Work truck: A rear-floor mount prevents spills onto tools and keeps hydration within reach on hot days.
FAQ: Ice Bucket Mounts for Cars
Is an ice bucket mount legal to use while driving?
Mounting a container is generally legal, but drinking alcohol while driving is not. Keep the setup for non-alcoholic beverages on the road, and if you?re transporting alcohol, follow local open-container laws. Always prioritize driver focus and safety.
Will a mounted bucket damage my car?s interior?
It can if you skip protection. Use a rubber tray or mat, choose non-marring straps, and avoid anchoring to fragile trim. Condensation control is the biggest factor for preventing stains and odors.
What?s the safest place to mount it?
The cargo area is usually safest because it?s away from airbags and footwells, and it?s easier to contain spills. If passengers need access, behind the center console can work if it doesn?t interfere with seat movement or seatbelts.
How do I keep the bucket from sweating and soaking the carpet?
Use an insulated container with a lid, place it in a shallow rubber tray, and add an absorbent pad underneath. Empty meltwater regularly?especially in humid climates.
Can I mount it using seat bolts?
Seat-bolt mounting can be strong, but it?s fitment-specific and can affect seat safety systems if done incorrectly. If you?re not experienced, use cargo anchors or a rail system, or consult a professional installer.
What size bucket works best inside a vehicle?
For most interiors, 2?5 liters is the sweet spot. It?s large enough for several cans but small enough to mount securely without taking over the cabin.
Conclusion: Your Next Steps for a Clean, Secure Setup
Start simple: pick a stable location, choose a lidded insulated container with a wide base, and secure it with quality straps to real anchor points. Add a rubber tray to protect your interior, then test the setup like you mean it?push, pull, and simulate hard braking while parked. Once you?ve lived with it for a week, you?ll know whether you want to upgrade to a rail system or a permanent bracket.
If you?re ready to keep refining your interior for comfort, safety, and everyday usability, explore more how-to guides and interior upgrade ideas on carinteriormix.com.